Showing posts with label Projects. Show all posts

Tuesday, May 21, 2013

It Finally Happened......

Do you all remember the last family photo I posted here on The Farmer's Wife?  Well, if not please read this post here.  That was over TWO years ago!!

Last weekend we attended a wedding of one of our hired hands.  Our son was asked to be RING SECURITY, so I figured this would be a perfect opportunity to finally get a "real" family photo.  We would all be in the same place at the same time AND we all would be spiffed up as well....especially my son in his cute little tux!!!!  The reception was held at the bride's parents home which was gorgeous and there were plenty of scenic choices to for us to finally get that overdue family photo!

Typical photo sessions with my kids usually go like this....


Or.... a couple of them try to hard at achieving the perfect smile.... {I still like this picture though}


And then we sometimes luck out and get a nice shot!


That is me and my clan....LOVE THEM!!!


A special thanks to our friend Calvin for taking our family picture {I know these people, and they are not the easiest family to work with...haha}.

You can check out my latest adventure here.  Yes, I branched out with yet another job to add to my resume.  It's a little something I have a passion for and truly enjoy.  If you like me work, please like my page.

{{{HUGS}}}

Saturday, February 23, 2013

DIY $2 Metal Letter

Want to find out how I made this $2 metal letter?  Yeah, I thought so!!!


Hop on over here and I will show you how!!!

{{{HUGS}}}

Thursday, January 17, 2013

Fabric Covered Photo Mats

I had fun dressing up some old photo mats.  You can take those boring white or cream colored photo mats and simply spice them up with fabric to match your decor.  If you don't have fabric I am sure decorative scrapbook paper would work too.

If you don't have a photo mat I will show you how to make your own from supplies you probably have in your cupboard.   


For step by step instructions on how to make these custom mats hop on over here.

{{{HUGS}}}

Wednesday, November 21, 2012

How to "Paint" Fancy Letters On Wood

I want to show you how to make your own sign with any font you choose.  If you think people paint those fancy signs completely by hand don't be fooled.... there is a trick and I am going to show you it.  I am sure some people are gifted and can do it solely by hand, but I am not one.  


The supplies you need are a paint brush and a wood board or plaque.  I picked up this one at the Hob Lob for less than a dollar!  Paint it with acrylic craft paint or rattle-can it in the color of your choice {I have used all different kinds of paint for this, but I am using acrylic craft paint for this particular project}.  You will also need a computer and printer for your design/font, a #2 pencil, some painters tape, a sharpie or different color paint for the initial or words, and ribbon for embellishing.


Allow the paint to dry completely.  I admit I have used a hair dryer to speed up this process.  I don't have patience...ha!


For this project I wanted to keep it pretty simple for demonstration purposes.  I chose to go with the initial R for my niece Rachel.   First you need to print your letter or saying on plain printer paper to an appropriate size to fit your wood plaque.  Use whatever software program you have like Word or Photoshop.  Prior to printing you need to flip your words so that when you transfer them they will be correct.  Note that my R is backwards here.


Next, I cut down the paper size leaving a good inch or so around my letter.  I placed the letter in the center of the wood plaque and secured with some painters tape.  Next use a pencil and outline the letter.  You will probably want to push a little harder than you would normally write.  You will see a faint tracing on your wood.  


Here you can see the faint outline of the letter.


If you prefer to see more of the letter you can outline it first and then color over the entire letter.  No need to stay in the lines because it will only transfer where the ink is on the paper.


It is much easier to see this way and I don't feel near as blind when I do it like this.


Now the image is ready to paint.  However, I like to find shortcuts and today I chose a Sharpie permanent marker rather than a small paint brush and acrylic craft paint.  Paint or color in your design.  Allow it some time to dry if you paint it.


Gotta love Sharpies!!!!!!!


Last, I hot glued some ribbon on for the hanger.


There you have it, FANCY letters!!!  

{{{HUGS}}}

Thursday, October 18, 2012

DIY Birthday Plate

Who loves Pinterest?  What's not to love about it!!!  Millions of great ideas, delicious recipes, photo inspiration, a glimpse of beautiful homes that most {ME ME ME} won't ever be able to afford all wrapped up in one "pinteresting" place!!!  Yep, I'm addicted to it!!!

Here is my latest Pinterest inspired project.


You can check out how I made this simple Birthday Plate over at Her View From Home.

{{{HUGS}}}

Friday, September 21, 2012

Turn A Scarf Into A Vest

I have got the easiest way for you to make a vest!!!  I was in awe when I saw how simple this was.  I don't know about you, but I have several scarves that I wear and end up taking them off because I can't stand them around my neck for long.  I knew when I saw how to turn my scarf into a vest that I could wear them longer than a couple hours...ha!  


If you can tie a knot, you can make this vest and I will show you how.  All you need is a large scarf.

1.  Lay your scarf out flat.
2.  Fold it in half. 
3.  Bring a folded corner and a loose end corner together.
4.  Tie the folded corner and loose end corner together.
5.  It should resemble a triangular shape.
6.  Find the opening.
7.  Separate the scarf to find to arm holes.
There you have it.  HOW EXTREMELY EASY IS THAT!!!!

Here is a front view


And here it is from the back


New life for my old scarves and a new way to dress up and old wardrobe!!!

I did play around with them a little to see if I could get a different look.  Try twisting the middle of the scarf before folding in half.  This will give you an open back vest.  

Remember you have until Monday to enter the GIVEAWAY!!!  Don't miss out!!!

{{{HUGS}}}

Monday, September 10, 2012

Household Tip

The other day I was discussing with my friends at work about how badly I need to clean the tops of my kitchen cabinets.  We have a gas stove and between that and the "country accent" of dust we have here on the farm it gets pretty darn grimy on up there.  It isn't the easiest place to clean....picture me standing on the counters with my head caulked at a 90 degree angle scrubbing the grime...then again...don't picture that.  

Well, my dear friend shared her "dirty" little secret about how to easily clean the tops of your cabinets.  It was one of those "why didn't I think of it moments".  Really, how simple is it to spread some old newspapers up there and then all you have to do is throw them away and replace them with new every so often!  Genius, my friends are!!!!


I wanted to pass this super fantabulous tip on to you all.  Guess what, I have another tip to share with you soon.  HINT HINT...it involves food!!!

{{{HUGS}}}

Sunday, August 12, 2012

Country Cute Turquoise & Red Bedroom Makeover

If you follow me on Facebook you probably saw some sneak peaks of a project I have been working on.  I am not completely finished with it, but wanted to go ahead and show what I have got so far.  Plus, I would love to hear your suggestions and ideas for the spaces I need to fill {hint hint}.

Here is the bedroom before. 


 It was actually my oldest daughter's room.  The bedrooms in our house are very small and this is the "big" bedroom.  Hardly enough room for a bed and dresser.  It is challenging I tell ya!  My younger girls share a room and they wanted to get twin beds instead of sharing a full size bed.  The only way I could do this was to switch their rooms.  It was quite an undertaking because for having such small rooms they all have a lot of stuff!

I am a mean mom and refuse to have any sort of character theme {Victorious, Justin Bieber, etc} because they seem to outgrow that so quick.  I prefer something a little more timeless....something country....something cute.  My kids are pretty understanding of my picky~ness!... At least I think they are!

When they mentioned twin beds I knew I would love old iron headboards.  I kept my eye out for some, went to an auction with antique beds, and surfed the internet.  I found this one from Layla Grayce.

  
This was it!!  I love everything about the headboard.  The antique look and the great details.  However, I didn't love the $1,320 price tag for each one!!!  This little headboard became my inspiration for the bedroom, but unfortunately that very important fact of keeping to a budget got in the way.

Since I was in love with the red headboard I wanted to go with a very soft turquoise or blue for the bedding.  Then I found this and knew it would be perfect!!!  I love the mix of floral, stripes, and polka dots!!!  It was from Annette Tatum, but this one must be discontinued.


Once again, the $230 price tag for the duvet cover, $65 for the euro sham, and $70 for the accent pillows was out of my budget and I needed 2 sets of everything.  I really love it though!

I set out to create a room like I have envisioned, but on a doable budget.  After searching online for bedding that I liked, I ended up ordering from a catalog I got in the mail..ha!  I had seen the bedding online, but things look different in a catalog and I really liked it.  The colors were a little brighter and bolder than the previous set I liked, but I had a 40% off my entire purchase coupon so I snagged  these 2 sets from Pottery Barn.


The sheet set wasn't the one that went with the bedding, but I wanted the mix of stripes and floral and I think it works well together.  It is also from Pottery Barn.  The sheets were backordered a couple weeks and so the fine folks at Pottery Barn sent me a $10 gift card!!!


I ended up finding an affordable headboard at Cymax Furniture & Home Decor online for $119.  No tax or shipping and they offer discounts as well.  It took about 2 weeks to get it, but for free shipping I was fine with it.  It looks much better in person than it does online.  The red color is exactly what I wanted...more of a barn red.  I had plans to age it up a bit when I got it, but I am so happy with the color that I am not going to touch it.


Here is what we ended up with.


The paint color is Sparkle by Valspar.


The rug is from Kohls and I got it super cheap at $19!!!  I wanted a red and white striped rug, but I couldn't pass this up being so affordable.

The feed sack pillow cases scream country girl!!!  I ordered them from Jeffer's Pet Supply and they were $14 each.  There are 2 different styles to choose from.  Check them out!


I painted their dresser {for like the 5th time} white and added some french country red stripes to the drawers.  The empty pictures frames were all free and I rattle canned them!!!  The hideous closet doors....ugh.  I want to replace them because I DESPISE, DETEST, LOATHE, sliding closet doors.  What is the point of them?  Ugh!!  If I don't get them replaced soon I am going to paint them white.  I am tempted to take the doors off and hang curtains to hide what is inside.  At least we could get in the closet then.  These doors are nothing but crap~tastic and fall of the tracks all the time anyway.  Can you tell I HATE them?


The red stand between their beds is one I have had for years.  It received my favorite rattle can paint....Rustoleum Painters Touch Ultra Cover x2.  I have used a lot of spray paint in all my years of crafting and this is by far the best!!!  I used Colonial Red for the stand and frames.


I spray painted monogrammed letters for each of the girls and attached a fabric flower like the ones I made here.  Then attached ribbon to hang it from.  I spruced up and old lamp we had by trimming it out with some red ribbon.  Books are displayed in a wire basket that I picked up at a second hand store.  The red clock I snagged at Dollar General {I have to say, I have gotten some great finds there lately}. An old mason jar houses some potpourri.  


The red bandana style pillows were from the Hob Lob.  I happened to be there the day they were marking them 70% off.  I think I paid around $7 each for them.  I added some red bandanas to the windows to tie it together.


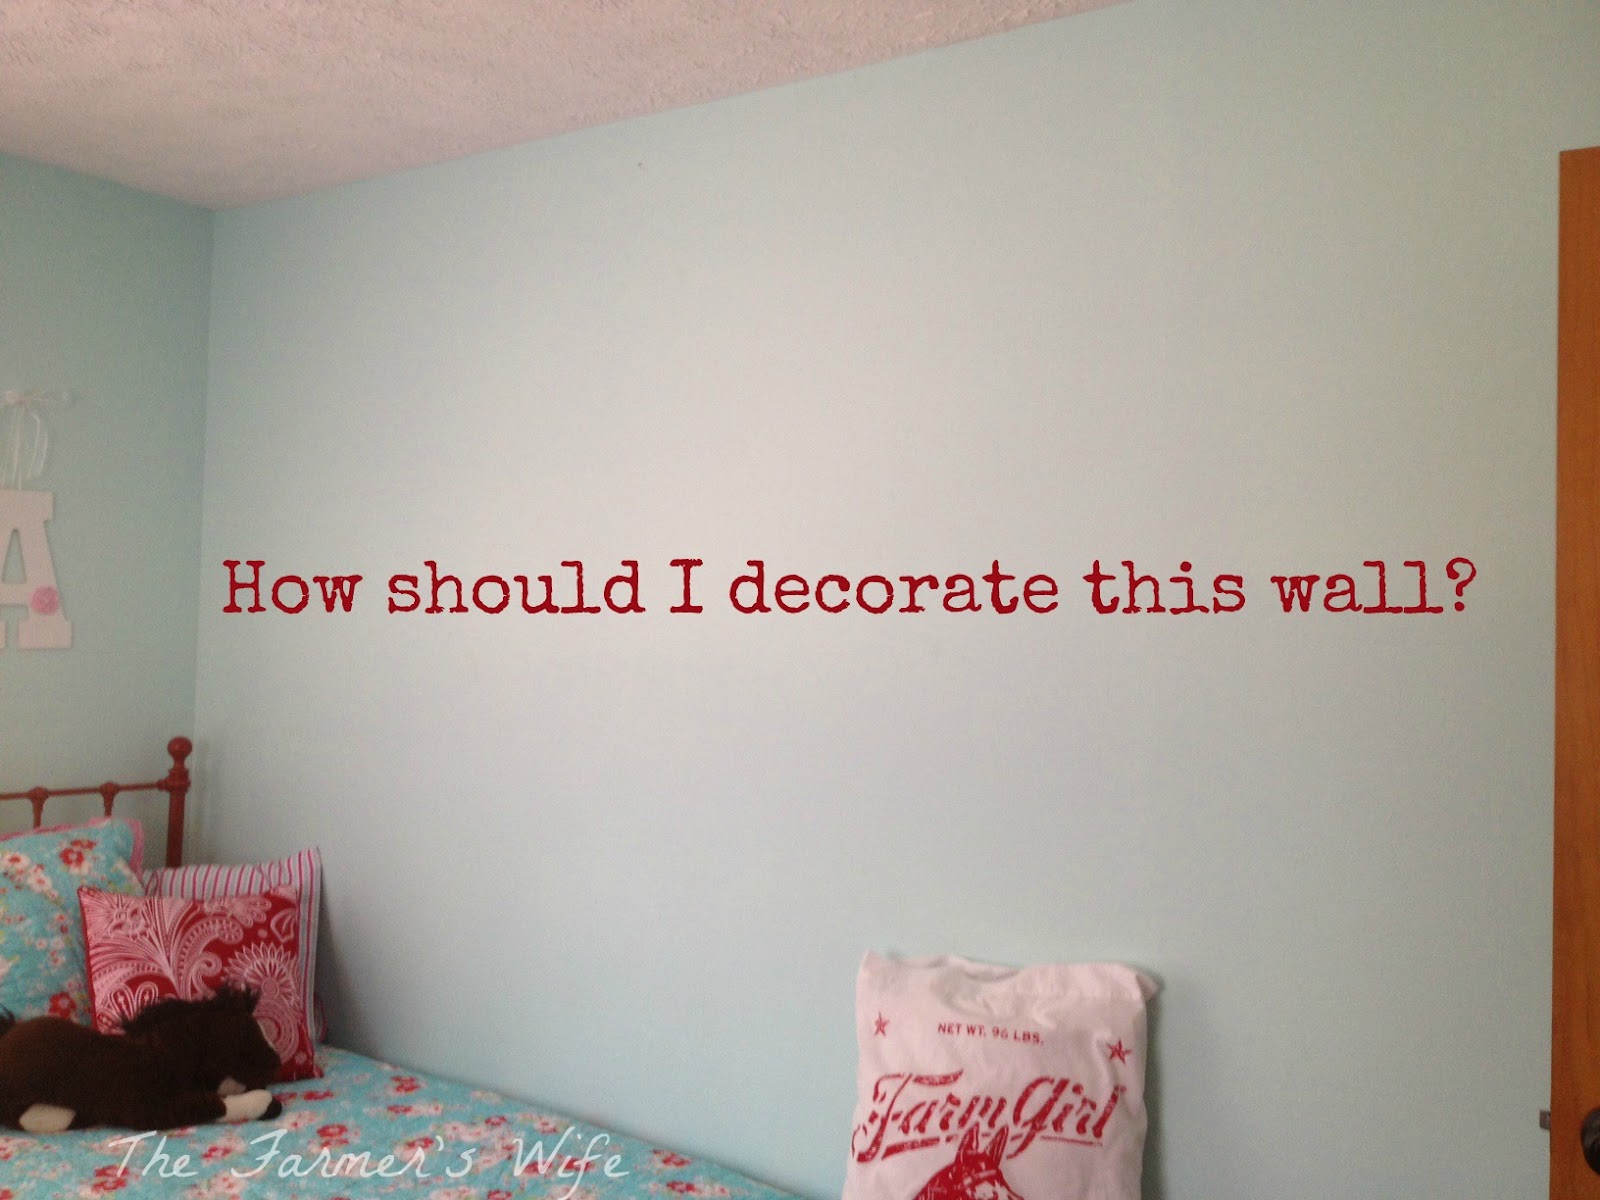
Now, this is where I need your help!  


And


Future plans for the room....I plan on getting rid of the mini blinds and getting white roman shades {maybe adding some ribbon to them}.  Then replace or {GULP} paint the closet doors and trim.  I have new white sheers to hang up that are embroidered....just haven't got around to doing that yet.


My girls are thrilled with their new "country cute" room.  What do you think?

{{{HUGS}}}
The Farmer's Wife
 
Under The Table Dreaming     Cowgirl Up! Link Party    Someday Crafts  Be Different Act Normal
Savvy Southern Style     A Little Knick Knack